Communicate with Your Barber: Exact Phrases That Work
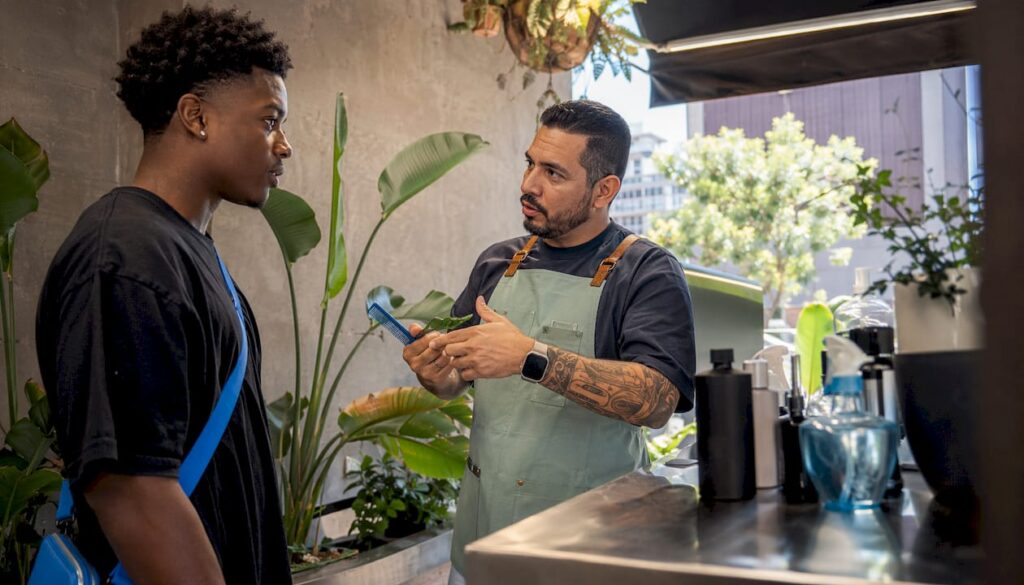
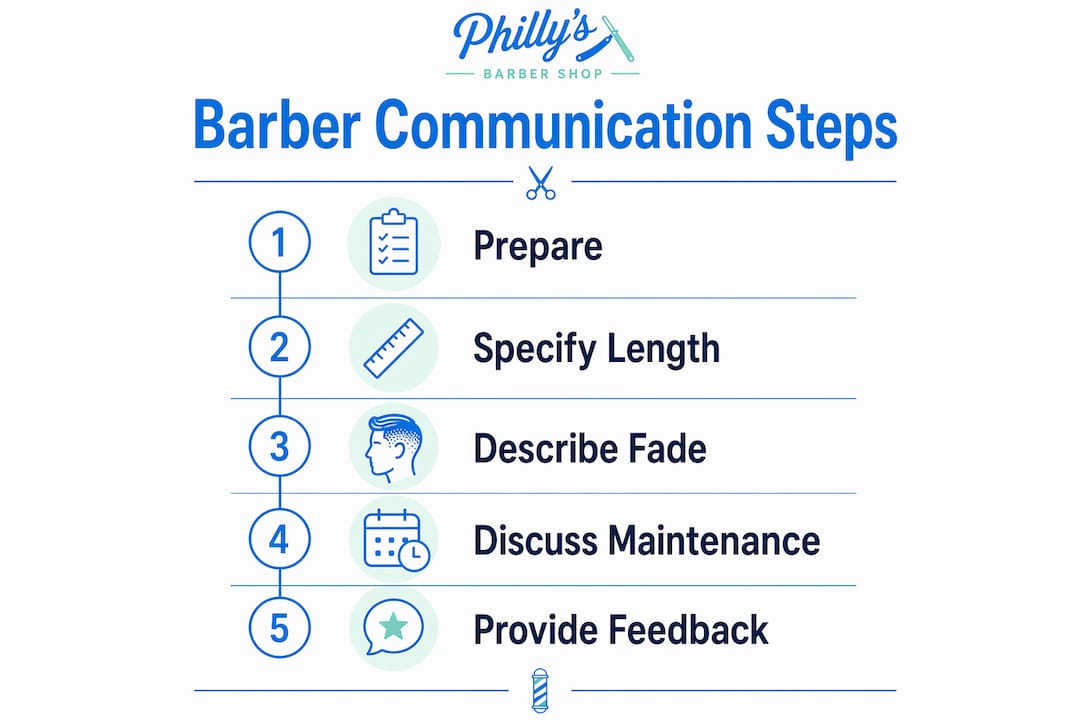
TL;DR: Tell your barber your top length first, then your side guard number, then your fade height, then your maintenance preference. That four-part sequence covers most of what a barber needs to give you a consistent, repeatable cut.
Before you say anything else, try this script: “I’d like to keep about two inches on top, a low fade with a #2 on the sides, and I want it to be easy to style in the morning.”
Here’s the quick checklist to run through every time:
- Top length: State it in inches or finger-widths (“two inches,” “one finger-width”)
- Side length: Give a guard number (#1, #2, #3) or say “skin fade”
- Fade height: Low, mid, or high (where the fade starts on your head)
- Neckline finish: Tapered (natural) or squared (sharp, blocked)
- Maintenance level: Low-maintenance grow-out or styled daily
That’s it. Four pieces of information, and your barber has everything they need to get started.
Table of Contents
- Before the appointment: what to prepare and bring
- What barber vocabulary actually means (and what to say instead)
- How to give exact length and specify where to remove hair
- How to use reference photos and visual cues effectively
- Exact scripts and phrases to say for common styles
- What to do while the barber is cutting
- Ask for styling instructions and plan the maintenance schedule
- How long does a barber visit take, and what does it cost?
- What barbers actually want from you (and the mistakes to avoid)
- When should you find a new barber?
- Key Takeaways
- A barber’s honest note on what makes a great client
- Useful resources for further reading
Before the appointment: what to prepare and bring
The night before your visit, do three things. Pick 2–4 reference photos, jot down your current length and the last guard number you remember, and write two quick priorities, such as “low-maintenance” or “more volume on top.” Walking in with that prep done cuts your consultation time in half and removes the guesswork for both of you.

For photos, cover multiple angles: front, side, and back. A single front-facing photo leaves your barber guessing about the back taper and the side profile. Three photos showing different angles tell a complete story. If you’ve used AI tools or style apps to preview a look, bring those images too, but treat them as a starting point rather than a blueprint. Physical constraints like cowlicks, growth patterns, and head shape will always shape the final result, and your barber will adapt accordingly.
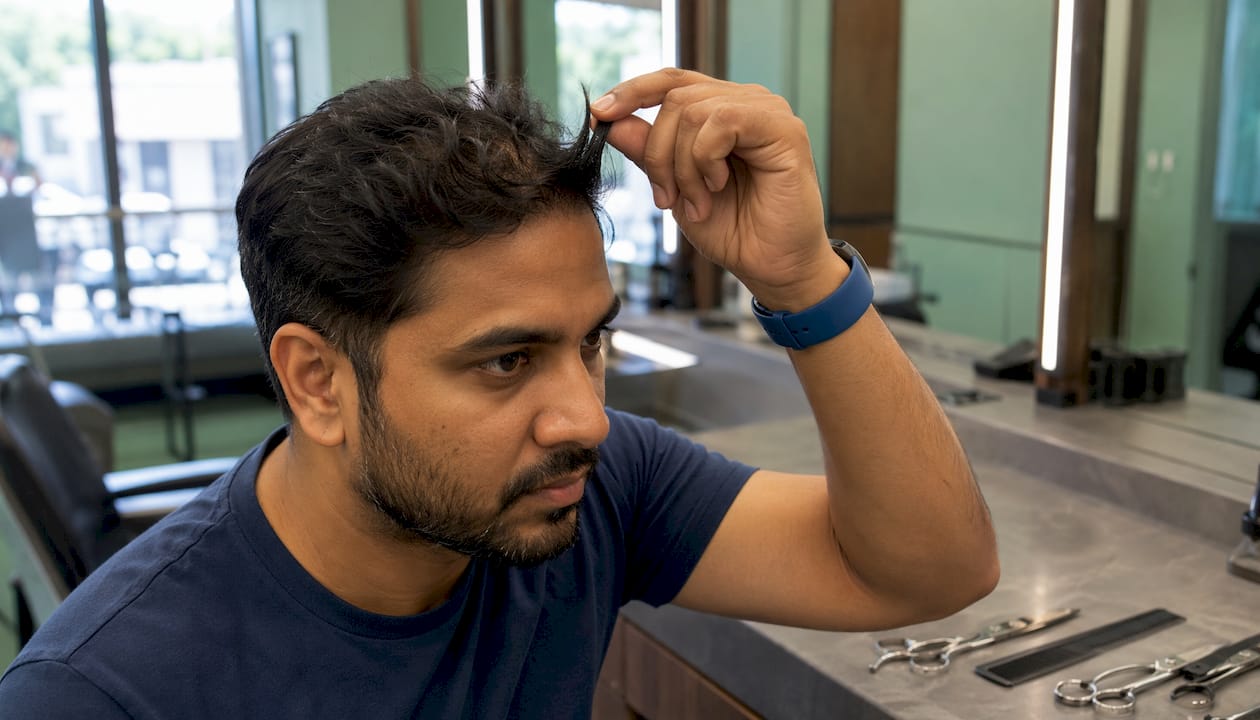
If you don’t know your exact length in inches, use the pinch method: pinch the hair between your fingers at the length you want to keep, then show your barber. It’s faster and more accurate than guessing a number.
Don’t skip the bad-cut photo. Bringing a photo of a haircut you hated alongside what you actually wanted is one of the most useful things you can do, especially with a new barber. It shows the exact mismatch, whether that’s a fade that came in too high or sides that were cut too short, without any ambiguity.
Also mention your daily routine. If you spend three minutes on your hair in the morning, say so. If you use a blow dryer and a round brush, say that too. A barber who knows your routine can cut the shape to match it.
Pro Tip: Save your reference photos in a dedicated album on your phone before you leave home. Scrolling through hundreds of photos in the chair wastes your barber’s time and breaks the consultation flow.
What barber vocabulary actually means (and what to say instead)
You don’t need to memorize a barbering textbook. You need about a dozen terms, used correctly, and you’ll communicate with your barber clearly every single time.
Guard numbers
Clipper guards control how much hair is left after the cut. Here’s what the most common numbers leave behind:
| Guard Number | Approximate Length | Common Use |
|---|---|---|
| #1 | 1/8 inch | Very short sides, near-skin fade |
| #2 | 1/4 inch | Short sides, standard fade base |
| #3 | 3/8 inch | Medium-short sides, soft taper |
| #4 | 1/2 inch | Medium sides, fuller look |
Taper vs. fade
A taper is a gradual length reduction that blends into the skin near the ears and neckline. A fade goes shorter, faster, often reaching skin level. The difference matters: ask for a taper and you get a natural, softer finish; ask for a fade and you get a sharper, more defined gradient. Within fades, the height tells your barber where the fade starts: low (just above the ear), mid (at the temple), or high (near the top of the sides).
The 3-2-1 approach
The 3-2-1 guard method is the clearest way to describe a fade without relying on vague words like “short.” You’re giving three guard numbers for three zones: #3 at the top of the fade, #2 in the middle, #1 at the hairline. That three-number sequence removes almost all ambiguity. Use it when you want a specific, repeatable result.
Behavior-based language
Barbers respond well to descriptions of how you want your hair to behave, not just how it should look. “I want movement on top” is clearer than “add texture.” “I want it to lie flat” is clearer than “keep it smooth.” If you’re unsure of the technical term, describe the behavior and let your barber translate it into technique.
Pro Tip: When you’re not sure whether to say “taper” or “fade,” just describe the finish: “I want it to blend into the skin at the bottom” (fade) or “I want it to gradually get shorter but not go to skin” (taper). Your barber will confirm the right term.
How to give exact length and specify where to remove hair
Vague words like “short” or “a little off the top” mean something different to every barber. Concrete language gets you a consistent result.
Here’s how to structure your length instructions by zone:
- Top: “Leave two inches on top” or “take it down to one finger-width” or “just clean it up and keep the length”
- Sides: “Use a #2 guard on the sides” or “fade the sides with a #3 at the top of the fade and skin at the bottom”
- Back: “Taper the back into the neckline” or “keep the back the same length as the sides”
- Neckline: “Square it off” (blocked, sharp line) or “taper it” (natural, rounded finish)
- Sideburns: “Trim them level with the bottom of my ear” or “fade them into the sides”
- Crown: “The crown gets thick and poofy — take some weight out there”
You can combine top and side instructions into one sentence: “Two inches on top, #2 sides with a low fade, tapered neckline.” That’s a complete brief. A barber who hears that has everything they need to start cutting.
When inches feel abstract, use the pinch method. Grab the hair at the length you want to keep, hold it between your fingers, and show your barber. Point to the spot on your head where the fade should start. Physical cues are faster than words for location-specific details.
How to use reference photos and visual cues effectively
Reference photos are the single most powerful tool you have in the chair. But handing your phone to the barber and saying “like this” doesn’t work as well as pointing to the specific element you want. When you show a photo, say: “I like the fade height here” or “I want this much length on top” or “I want the part on this side.” That narrows the instruction to something your barber can act on.
Bring 3–5 photos covering different angles. A front shot shows the part and fringe. A side shot shows the fade height and profile. A back shot shows the neckline finish. Together, they give your barber a three-dimensional picture of the style.
A few things to keep in mind:
- Do show multiple angles rather than a single photo
- Do point to the specific element you want, not just the overall look
- Do acknowledge that your hair texture may produce a different result than the photo
- Don’t expect an exact texture match if your hair is significantly thicker, finer, or curlier than the person in the photo
- Don’t scroll through your phone in the chair — have the photos ready before you sit down
Pro Tip: Check your barber’s own Instagram or portfolio before your appointment. If you see a cut they’ve already done that you love, show them that photo. They know exactly how they achieved it and can replicate it far more reliably than a photo from a stranger’s feed.
Exact scripts and phrases to say for common styles
Freezing up when the barber asks “what are we doing today?” is more common than you’d think. These ready-to-use scripts cover the most frequent requests.
Maintenance clean-up (same cut, tidied up):
“Same as last time — just clean it up. Keep the length on top and tighten the fade on the sides.”
Low taper with length on top:
“I’d like to keep about two inches on top, low taper on the sides with a #3 blending into a #1 at the hairline, and a tapered neckline. Does that work for my hair type?”
Textured crop:
“Short on the sides, #2 fade, and I want the top cut short with some texture — not flat, I want a bit of movement. Can you use scissors on top?”
Longer sides with scissor-over-comb:
“I want to keep the sides longer, no clippers on the sides, just scissor-over-comb to blend. Leave the top at about two and a half inches and take some weight out.”
First visit with a new barber:
“I’m new here. I usually get a low fade with a #2 on the sides and two inches on top. I brought a couple of photos. I’ve had issues before with the fade coming in too high, so I’d rather go conservative and adjust.”
End any script with an open question: “Does that work for my hair type?” or “What would you adjust for my head shape?” That invites your barber’s professional input and turns the consultation into a real conversation rather than a one-way order.
For mid-cut corrections, keep it short and non-confrontational: “Could we keep one more guard on that side?” or “Can we blend that transition a bit more?” Those phrases preserve the collaborative tone and keep your options open.
What to do while the barber is cutting
Once the cut starts, you don’t have to go silent and hope for the best. Mid-cut feedback is normal and often the difference between a good result and a great one. Small adjustments are easy while the hair is still on the cape. After the cut is finished, options disappear.
Ask for a mirror check when the barber moves to the back or finishes one side: “Can I take a quick look?” Most barbers will hand you a mirror without hesitation. If you see something you want adjusted, say it immediately: “Could we blend that a bit more on the left?” or “That transition feels a little abrupt — can we soften it?”
Use questions, not statements, when correcting. Phrasing corrections as questions keeps the tone collaborative and gives your barber room to explain why they made a choice. “Could we take a bit more off the top?” lands better than “You left it too long.”
On the quiet-vs-chatty question: both are fine. Telling your barber you want to relax is perfectly acceptable. So is talking through the cut as it happens. Set the tone early: “I’m happy to be quiet today” or “I like to check in as you go.” Your barber will follow your lead.
Pro Tip: If a barber never pauses to show you progress or ask how things look, that’s worth noting. A skilled barber checks in naturally, especially on a first visit.
Ask for styling instructions and plan the maintenance schedule
Before you leave the chair, ask two things: how to style it and when to come back. These are the questions most men skip, and they’re the reason a great barbershop cut looks ordinary by day three.
Ask your barber to show you how they styled the finished cut. Watch what product they use and how they apply it. Then ask for the name of one or two products suited to your hair type. For most men, the choice comes down to:
- Pomade: High shine, strong hold, works well for slicked-back or classic styles
- Matte paste: No shine, medium hold, good for textured or natural-looking styles
- Light cream: Minimal hold, adds softness and manageability for longer or wavy hair
If you want a low-maintenance routine, say so: “I want something I can do in under two minutes.” A good barber will cut the shape to work with your natural texture and recommend a single product that does the job without effort. You can find barber-recommended products that match common hair goals if you want to explore options before your next visit.
For return intervals, a rough guide:
- Skin fades and tight cuts: Every 2–3 weeks to stay sharp
- Standard fades and short cuts: Every 3–4 weeks
- Longer styles and tapers: Every 5–6 weeks, or when the shape starts to lose definition
How long does a barber visit take, and what does it cost?
A standard men’s haircut at a U.S. barbershop typically runs 20–45 minutes. Add a beard trim and you’re looking at 45–60 minutes. A full grooming service, including a straight razor shave or hot towel treatment, can take 60–90 minutes. Book accordingly, especially on weekends when wait times at busy shops can add 20–30 minutes to your visit.
On pricing, U.S. barbershop haircuts generally range from $25 to $65 depending on location, shop tier, and service complexity. Beard trims typically add $15–$30 on top of a haircut. Premium shops in major cities often charge more. These are ranges, not rules, and a shop’s pricing reflects its experience level and the time the service takes.
For tipping, 15–20% is standard for a solid cut. If the work was exceptional, the style was complex, or the barber spent extra time correcting a previous cut, 20–25% is appropriate. Flat-amount tips ($5–$10) are common for shorter, simpler services.
Pro Tip: Book an early weekday slot if you want the most time and attention. Saturday afternoons are the busiest window at most shops, and a rushed barber is nobody’s friend.
What barbers actually want from you (and the mistakes to avoid)
Barbers view the consultation as a collaboration, not a one-way order. When a barber asks clarifying questions, that’s a sign of care, not confusion. A skilled barber asks because they’re adapting your vision to your actual hair texture, density, and head shape. Treating those questions as incompetence is one of the most common client mistakes.
The 3-2-1 guard approach works precisely because it removes subjective words from the equation. Instead of “short on the sides,” you’re giving three objective numbers for three zones. Use it when you want a specific, repeatable fade. Skip it when you’re going for a longer, scissor-only cut where guard numbers don’t apply.
Common mistakes that lead to bad cuts:
- Saying “short” or “a little off” without a reference point
- Not mentioning maintenance needs (the barber cuts for a styled look when you wanted low-maintenance)
- Waiting until the cut is finished to say something felt wrong
- Using technical terms incorrectly (asking for a “taper” when you mean a “fade” sends the cut in the wrong direction)
Red flags to watch for in a barber: no consultation before picking up the clippers, no mid-cut checks, dismissive responses to reasonable questions, or repeated results that don’t match what you asked for. Consistency builds over time with a barber who listens, and after a few visits, a good barber keeps notes and “the usual” becomes possible.
When should you find a new barber?
One bad cut doesn’t mean you need a new barber. Repeated bad cuts after clear communication do.
Watch for these signals:
- The barber starts cutting without asking a single question
- Your reasonable corrections mid-cut are ignored or brushed off
- The result consistently misses what you asked for, even after you’ve refined your language
- You leave feeling dismissed rather than heard
If you’re unsure, request one corrective visit. Bring the same photos, use the same scripts, and see whether the barber adjusts. If the result still misses the mark, that’s your answer.
When you’re ready to move on, you don’t need a dramatic exit. Simply book elsewhere. If you’re asked why you’re leaving, “I’m trying a few different shops” is honest and gracious. Bring your reference photos and your scripts to the new barber. The same communication tools that worked before will work again.
Pro Tip: If a barber ignores your preferences or doesn’t adapt for your face shape, consider finding someone who values the consultation as much as the cut itself. The right barber relationship pays off in every visit after the first.
Key Takeaways
Clear, specific language, backed by reference photos and a short four-part brief, is what separates a great haircut from a frustrating one.
| Point | Details |
|---|---|
| Lead with four specifics | State top length, side guard number, fade height, and maintenance level before anything else. |
| Bring multiple photos | Show front, side, and back angles and point to the exact element you want, not just the overall look. |
| Use the 3-2-1 method | Give three guard numbers for three fade zones to remove all ambiguity from side-length instructions. |
| Speak up mid-cut | Ask for a mirror check early; small corrections are easy during the cut and impossible after. |
| Ask about styling and return timing | Request a product name and a return interval before you leave the chair so the cut stays sharp. |
A barber’s honest note on what makes a great client
Here’s what I’ve learned in over 20 years behind the chair: the clients who get the best results aren’t the ones who know the most terminology. They’re the ones who show up prepared, speak honestly, and stay engaged during the cut.
You don’t need to walk in with a full barbering vocabulary. You need a photo, a rough idea of your length preferences, and the willingness to say something if a detail isn’t going the way you hoped. That’s it. The rest is my job.
What I genuinely appreciate is when a client tells me about their morning routine, their maintenance tolerance, and any past cuts that went wrong. That context changes everything. A two-inch top on a man who air-dries and leaves in five minutes looks completely different from the same length on someone who blow-dries with a brush. Knowing which one you are lets me cut the shape to match your real life, not just the photo.
Mid-cut feedback is never rude. If something looks off to you, say so while I can still fix it. A quiet correction in the middle of a cut is a gift. Waiting until I’ve finished and then saying “actually, can we go shorter?” is harder for both of us.
If you’re in Copenhagen and want to put these tips into practice, Phillythebarber’s grooming services in Vesterbro are built around exactly this kind of personalized consultation. Every visit starts with a conversation, not a clipper.
Useful resources for further reading
A short list of pages worth bookmarking before your next appointment:
- How to describe a haircut to your barber — Phillythebarber’s practical guide to articulating style and length during a consultation, with specific language for common cuts.
- How to prepare for a barber visit — A step-by-step pre-visit checklist covering what to bring, what to note, and how to set up the consultation for success.
- Barber-recommended men’s hair products — Product guidance by hair type and style goal, useful for matching your at-home routine to your cut.
- GQ: How to talk to your barber — A well-sourced overview of behavior-based language and consultation framing from a recognized men’s style publication.
- Art of Manliness: Get the perfect haircut — Covers the collaboration mindset and why barber questions are a sign of skill, not uncertainty.